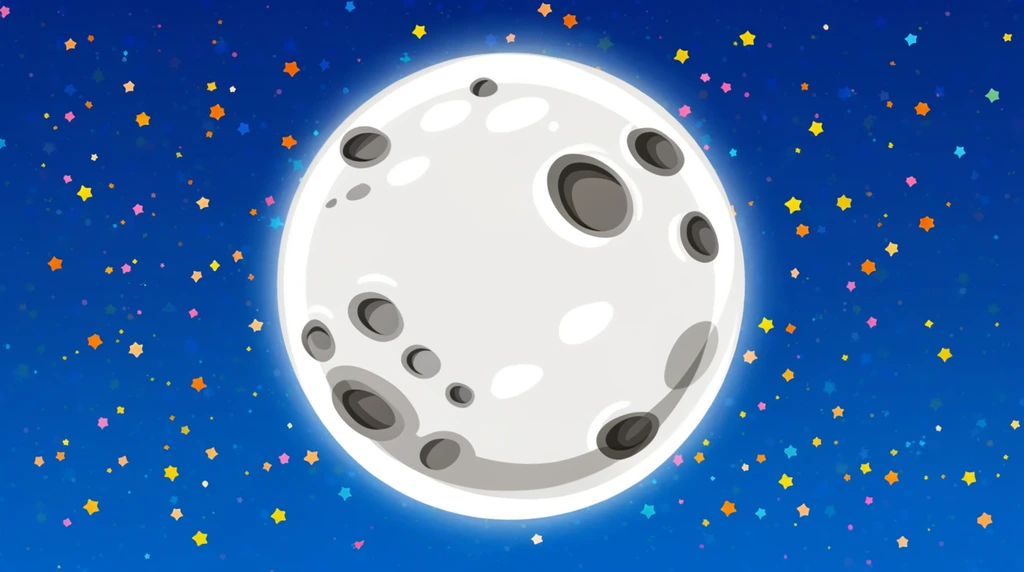
"This will be a very, very exciting video," Eon says, "because we are going to build a Moon." A Moon is a ball, and Blender doesn't start you with a ball — it starts you with a cube. So before Eon can have a Moon, he has to swap that cube for a brand-new shape: the UV sphere. His dad even turns on a "screencast key" tool so every key Eon presses pops up on screen — that way you can follow the exact buttons too.
First, clear the cube (and a wrong guess)
Every Blender file opens with a cube sitting in the middle. To make room for the Moon, Eon has to delete it. His dad quizzes him: first select the cube by clicking it, then "which key should you press?"
Eon guesses "S." Close, but no — S is for scale (resizing). The right key to remove something is X. Press X, choose Delete, and — "Bam!" — the cube is gone. That little mix-up is a good reminder: in Blender, almost every letter does a different job, so it's worth learning them one at a time.
Find the sphere hiding in the Mesh menu
Now for the fun part: adding the ball. The shortcut is Shift + A, which opens the "Add" menu. But here Eon hits a snag. He clicks the first round-looking thing he sees and picks a circle — a flat ring, not a ball. "Wrong," his dad says with a smile. "Let's do that again."
The trick is that Shift + A doesn't jump straight to spheres. First you land on a list of categories, and you have to choose Mesh (3D objects) before the sphere choices appear:
- Press Shift + A
- Hover Mesh first
- Then pick UV Sphere
"Follow my lead," his dad says — Mesh, then UV Sphere. This time it works, and a proper round ball appears. A circle is flat like a coin; a UV sphere is solid like an orange. For a Moon, you want the orange.
Peek inside with wireframe mode
Here's the coolest moment. Eon presses Z to switch the view, and chooses wireframe mode — the option on the left that makes the ball see-through, like an X-ray. Suddenly you can see what a UV sphere is really made of.
"A UV sphere is just all these lines that go around, like a circle around Earth," his dad explains. "It's like longitude and latitude." That's the secret: a sphere in 3D isn't magically smooth. It's built from rings stacked top to bottom and rings running side to side — exactly the way a globe is drawn with longitude and latitude lines. Put enough of those lines together and your eyes see a smooth ball. Press Z again to go back to solid mode, and it looks like a real, filled-in Moon.
Why a rough Moon is actually right
The fresh sphere comes out a little bumpy and rough around the edges, not perfectly smooth. For a lot of objects that would be a problem — but Eon and his dad realize it's perfect here. "Imagine the Moon. It's not smooth," his dad points out. The real Moon is covered in craters and dust, so a slightly rough ball actually looks more believable than a shiny one.
One real-space rule does stay firm, though. Right at the start, his dad warns: "Please don't make the Moon bigger than Earth — that would be wrong." In real life the Moon is much smaller than Earth, and Eon agrees he likes a small moon that orbits a planet. Their plan: make the Moon, then make the planet, and keep the sizes true to space. They'll add even more bumps "in another method" next time — a sneak peek at the next lesson.
Try it
Grab a globe, a ball, or even an orange. Trace your finger around it the tall way (top to bottom) — that's a line of longitude. Now trace around the middle — that's latitude. Imagine lots and lots of those lines crisscrossing the whole ball: that's exactly how Blender builds a UV sphere. Then ask yourself Eon's question: if Earth were a basketball, would the Moon be a tennis ball, or a marble? (Hint: a tennis ball is about right — the Moon is small, but not that small.)